A Free Guide · Hattie Lou Blooms
DIY Pressed Wedding Flowers
A step-by-step field guide to pressing your own wedding, memorial, or keepsake bouquet at home — from the first day after the event through pressing, drying, and framing — with the exact tools we reach for in our own studio.
Rather have us do it? See our preservation services
How to Press Your Own Wedding Flowers
Pressing is where timing really matters. If you start too late, the bloom won't hold color. And if you rush the drying time, the petals won't be stable enough to work with. Here's the exact sequence we follow in the studio when we press a fresh bouquet:
What makes a wedding bouquet different
Wedding bouquets are the hardest kind of flowers to press at home. They are built from dense, high-moisture blooms — garden roses, peonies, ranunculus, dahlias, carnations — with thick heads that trap water in the center and brown if they are pressed whole. Slice those blooms in half through the stem, or take them apart petal by petal and press the petals individually, then rebuild the shape when you design the frame.
Timing is tighter too. A bouquet spends the whole wedding day out of water, in warm hands and under lights, so it arrives at the press already stressed. Line up your press, paper, and a dry spot before the wedding, and hand the bouquet to whoever is pressing it the morning after — not a week later.
- 01
Start pressing within 1-2 days of the event
Begin pressing your bouquet within 24-48 hours after the wedding or event, before petals start to wilt or brown. The fresher the flowers, the truer the color will hold once dried.
- 02
Prep the flowers for the press
Trim stems short, remove excess leaves and any bruised or overlapping petals, and gently flatten each bloom face-down or face-up depending on the shape you want preserved. Lay everything flat so no petals are folded under themselves.
- 03
Layer flowers into the press
Build layers of blotting board, 5 sheets of copy paper, flowers laid flat with space between them, 5 more sheets of copy paper, then another blotting board. Repeat until the press is full, then tighten the press evenly until you feel firm resistance.
- 04
Leave under weight for at least 10-12 weeks
Store the press somewhere dry and undisturbed. Do not peek early — opening the press releases moisture and can wrinkle the petals. Thicker blooms like roses and peonies may need 4-6 weeks; thinner flowers like daisies and cosmos are usually ready in 2-3.
- 05
Check that the flowers are fully dry
Done pressed flowers feel papery and weightless, hold their shape when lifted with tweezers, and show no cool or damp spots on the petals. If anything feels cool to the touch, close the press and give it another week before checking again.
Frames
Once your flowers are fully pressed and dried, you'll want a frame that actually does them justice. Double-glass floating frames are a great choice — the style lets light pass through both sides so your pressed flowers look like they're suspended rather than stuck behind glass. Below are a few size options in different finishes so you can match your space.
Double-glass floating frames

6x8 — gunmetal black, antique bronze, gold
Shop on Amazon →

8x10 — gunmetal black, antique bronze, gold
Shop on Amazon →

10x8 — gunmetal black, antique bronze, gold
Shop on Amazon →
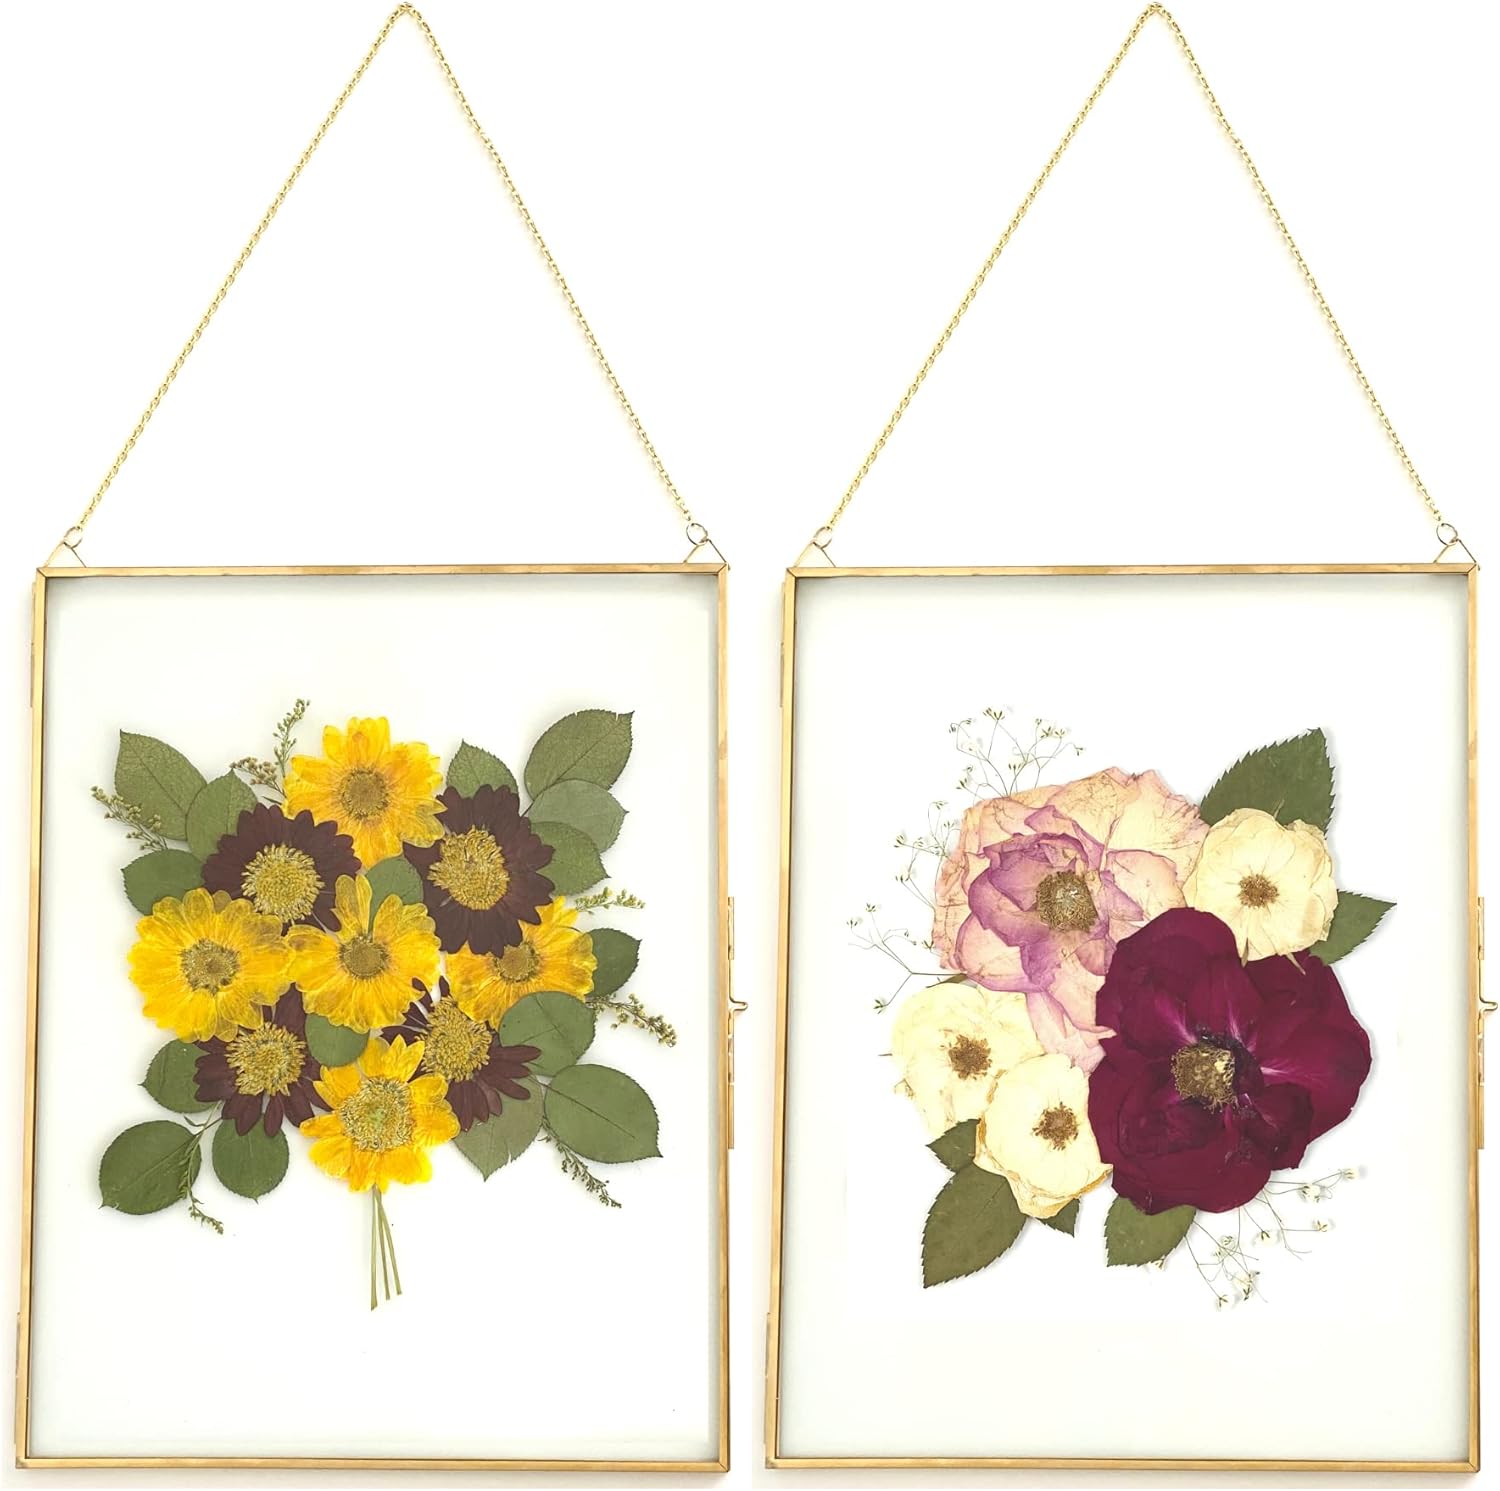
11x14 — gunmetal black, antique bronze, gold
Shop on Amazon →
Got thicker flowers?
For blooms with more depth, a glass-and-plexiglass frame is a better fit — one side is real glass, the other is plexiglass, and that slight flex in the plexiglass gives thicker pressed flowers the room they need to sit properly. The tradeoff: plexiglass scratches much more easily than glass, so you'll want to be gentle with it and avoid harsh cleaning products — a soft microfiber cloth and mild soap and water is the safer bet. (See the Glass Cleaner section below for more on this.)
Metallic tones

8x10 — black, gold, silver, bronze, green, rose gold
Shop on Amazon →
11x14 — black, gold, silver, bronze, green, rose gold
Shop on Amazon →
Wood tones


Paper Products
Between every layer of flowers in your press, you need something to absorb moisture and add even pressure as they dry. This usually comes in two parts: a blotting/chipboard layer, and the paper that directly touches your flowers.
Blotting boards
Skip traditional corrugated cardboard if you can — the ridges can actually imprint lines onto delicate petals as they press. These smooth blotting boards avoid that problem entirely, and they're sized to fit two 8.5x11 sheets side by side, giving you a lot more pressing space per layer than a standard single-sheet setup.

Paper (the layer touching your flowers)
Plain copy paper works well as your everyday base layer — use about 5 sheets on both sides of the flowers, between the chipboard. That's usually all you need.

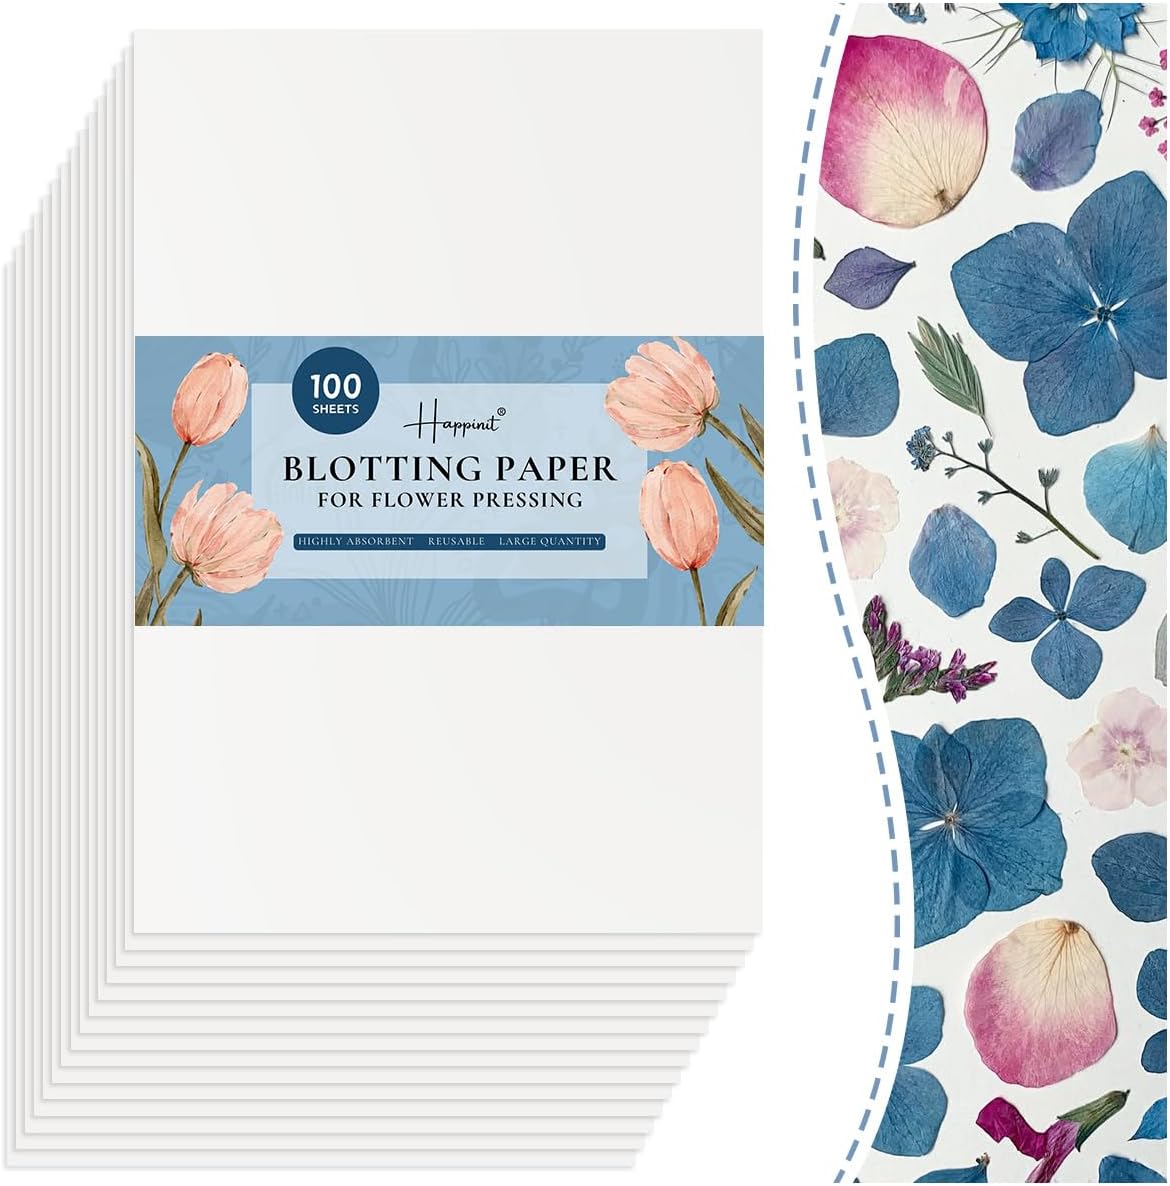
If your flowers are on the thicker side, add a layer of blotting paper in with the copy paper — it pulls extra moisture out more efficiently, which helps thicker blooms dry evenly instead of staying damp longer than the rest of the layers.
Glue
Best for keepsakes
Acid-free (archival)
The right choice if you want your pressed flowers to last for years without yellowing or degrading. It sets slower, so you'll need to hold the flower in place for a few minutes while it gets tacky. Worth the extra patience for something like a wedding bouquet.
Best for practice
Quick-stick
Sets fast and is easy to work with, but it's not acid-free, so it's better suited for practice pieces or shorter-term display rather than something you want to preserve long-term.

Tweezers & Placement Tools
Precise tools make a real difference once you're arranging dried petals and adding glue — this isn't a step where you want to be using your fingers.
Precision tweezers
Great for moving flowers into position and lifting edges to slide glue underneath.
Tweezers / scraping tool
Also good for lifting edges to add glue, plus doubles as a way to scrape off small excess bits of glue where it's not wanted.


Frequently Asked Questions
- How long does it take to press flowers from a bouquet?
- Most bouquet flowers need at least 2-3 weeks under weight in a flower press. Thicker blooms like roses, peonies, and dahlias often take 4-6 weeks to dry all the way through. Opening the press early traps moisture and can wrinkle the petals, so it is worth the wait.
- Can you press flowers without a flower press?
- Yes. A stack of heavy hardcover books works in a pinch — layer the flowers between sheets of plain copy paper, sandwich that between blotting boards or extra paper, and weight the whole stack down. It is slower and less even than a real press, but it works for smaller bouquets and single blooms.
- Will pressed flowers fade over time?
- Some fading is normal, especially for reds, purples, and blues. To slow it down, keep finished pieces out of direct sunlight and consider a frame with UV-protective glass. Acid-free glue and archival paper also help pressed flowers hold their color for years instead of months.
- Do I need to press every flower from my bouquet?
- No — most brides press a curated selection of the strongest, most photogenic blooms and greenery. Overloading the press with every stem makes it harder to dry evenly. Choose the flowers you want to see in the final frame and press extras of your favorites as backup.
- Can I press my own wedding bouquet?
- Yes. DIY pressed wedding flowers are very doable at home if you start quickly and have somewhere dry to leave the press undisturbed for a few months. The main trade-offs are time and risk: thick blooms like roses and peonies can brown or mold if they are not prepped and layered well, and there is no second chance with a wedding bouquet.
- How soon after the wedding do I need to start pressing?
- Within 24-48 hours of the ceremony. Wedding bouquets spend the day out of water and under warm lights, so color starts turning fast. If you cannot press right away, keep the bouquet cool and in water, and start as soon as you can.
- Which wedding flowers press the best?
- Flat or thin-petaled flowers press best: cosmos, larkspur, delphinium, daisies, ranunculus, greenery, and single rose petals. Dense, high-moisture blooms like garden roses, peonies, dahlias, and carnations need to be sliced in half or taken apart petal by petal before pressing, or they will hold moisture in the center.
Prefer to hand it off?
We'll press them for you.
If pressing your own feels like more than you have time for, we ship nationwide and handle everything from the press to the final frame.
As an Amazon Associate, Hattie Lou Blooms earns from qualifying purchases made through the links in this guide.